 纹理贴图
纹理贴图
# Texture (opens new window)
# 属性
# offset (opens new window)
纹理的偏移
# center (opens new window)
设置旋转中心
# rotation (opens new window)
对纹理进行旋转
# repeat (opens new window)
设置纹理的重复
# encoding (opens new window)
色彩空间,常用encoding = THREE.sRGBEncoding;,更符合人的视觉。
参考: ThreeJS 不可忽略的事情 - Gamma色彩空间 (opens new window)
# wrapS、wrapT (opens new window)
设置纹理的重复模式
// 导入纹理
const textureLoader = new THREE.TextureLoader();
const doorColorTexture = textureLoader.load("./textures/door/color.jpg");


// 设置纹理偏移
doorColorTexture.offset.x = 0.5;
doorColorTexture.offset.y = 0.5;
doorColorTexture.offset.set(0.5, 0.5);
// 纹理旋转
// 设置旋转的原点
doorColorTexture.center.set(0.5, 0.5);
// 旋转45deg
doorColorTexture.rotation = Math.PI / 4;
// 设置纹理的重复
doorColorTexture.repeat.set(2, 3);
// 设置纹理重复的模式
doorColorTexture.wrapS = THREE.MirroredRepeatWrapping;
doorColorTexture.wrapT = THREE.RepeatWrapping;
1
2
3
4
5
6
7
8
9
10
11
12
13
14
15
16
17
18
19
2
3
4
5
6
7
8
9
10
11
12
13
14
15
16
17
18
19
# minFilter (opens new window)
当一个纹素覆盖小于一个像素时,贴图将如何采样
# magFilter (opens new window)
当一个纹素覆盖大于一个像素时,贴图将如何采样
# mapping (opens new window)
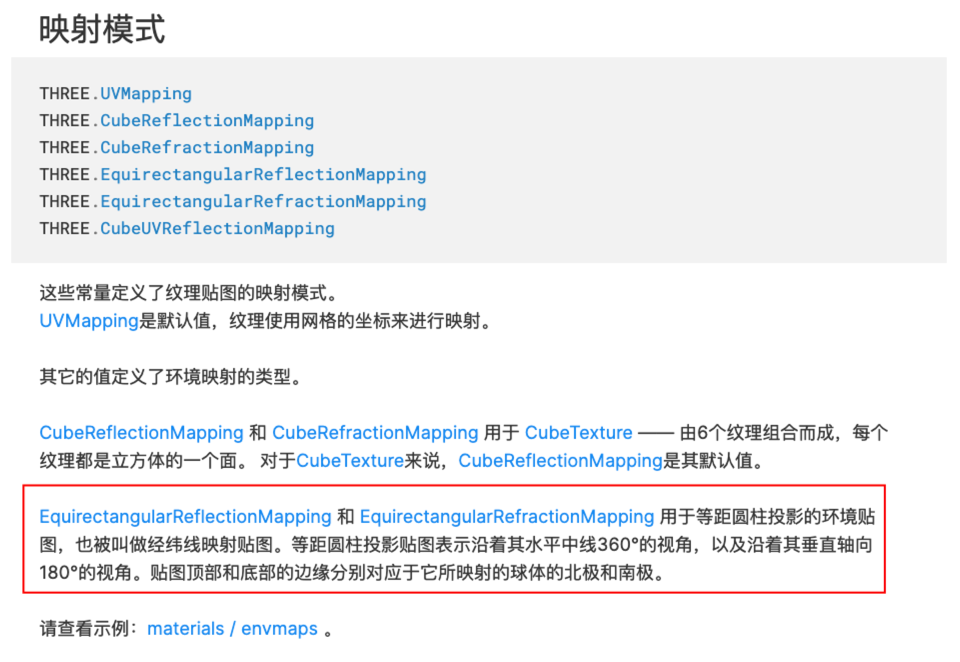
图像将如何应用到物体(对象)上。默认值是THREE.UVMapping (opens new window)对象类型。当我们用等距圆柱投影方式时,要使用EquirectangularReflectionMapping


import { RGBELoader } from "three/examples/jsm/loaders/RGBELoader";
// 目标:设置环境纹理
// 加载hdr环境图
const rgbeLoader = new RGBELoader();
// 加载hdr类型等距圆柱投影图片
rgbeLoader.loadAsync("textures/hdr/002.hdr").then((texture) => {
  // 因为我们是等距圆柱投影,所以要改一下映射方式
  texture.mapping = THREE.EquirectangularReflectionMapping;
  // 添加场景背景
  scene.background = texture;
  // 添加场景映射环境
  scene.environment = texture;
});
1
2
3
4
5
6
7
8
9
10
11
12
13
2
3
4
5
6
7
8
9
10
11
12
13
 上面加载的是等距圆柱投影的hdr,把映射方式mapping改为
EquirectangularReflectionMapping,那如果我们加载进来的是立方体投影的hdr图,那我们就要把mapping换为CubeReflectionMapping了。立方体这个没做实验,待验证。
# CubeTexture (opens new window)
创建一个由6张图片所组成的纹理对象。

// 设置cube纹理加载器
const cubeTextureLoader = new THREE.CubeTextureLoader();
const envMapTexture = cubeTextureLoader.load([
  "textures/environmentMaps/1/px.jpg",
  "textures/environmentMaps/1/nx.jpg",
  "textures/environmentMaps/1/py.jpg",
  "textures/environmentMaps/1/ny.jpg",
  "textures/environmentMaps/1/pz.jpg",
  "textures/environmentMaps/1/nz.jpg",
]);

const sphereGeometry = new THREE.SphereBufferGeometry(1, 20, 20);
const material = new THREE.MeshStandardMaterial({
  metalness: 0.7,
  roughness: 0.1,
    envMap: envMapTexture,
});
const sphere = new THREE.Mesh(sphereGeometry, material);
scene.add(sphere);
1
2
3
4
5
6
7
8
9
10
11
12
13
14
15
16
17
18
19
2
3
4
5
6
7
8
9
10
11
12
13
14
15
16
17
18
19
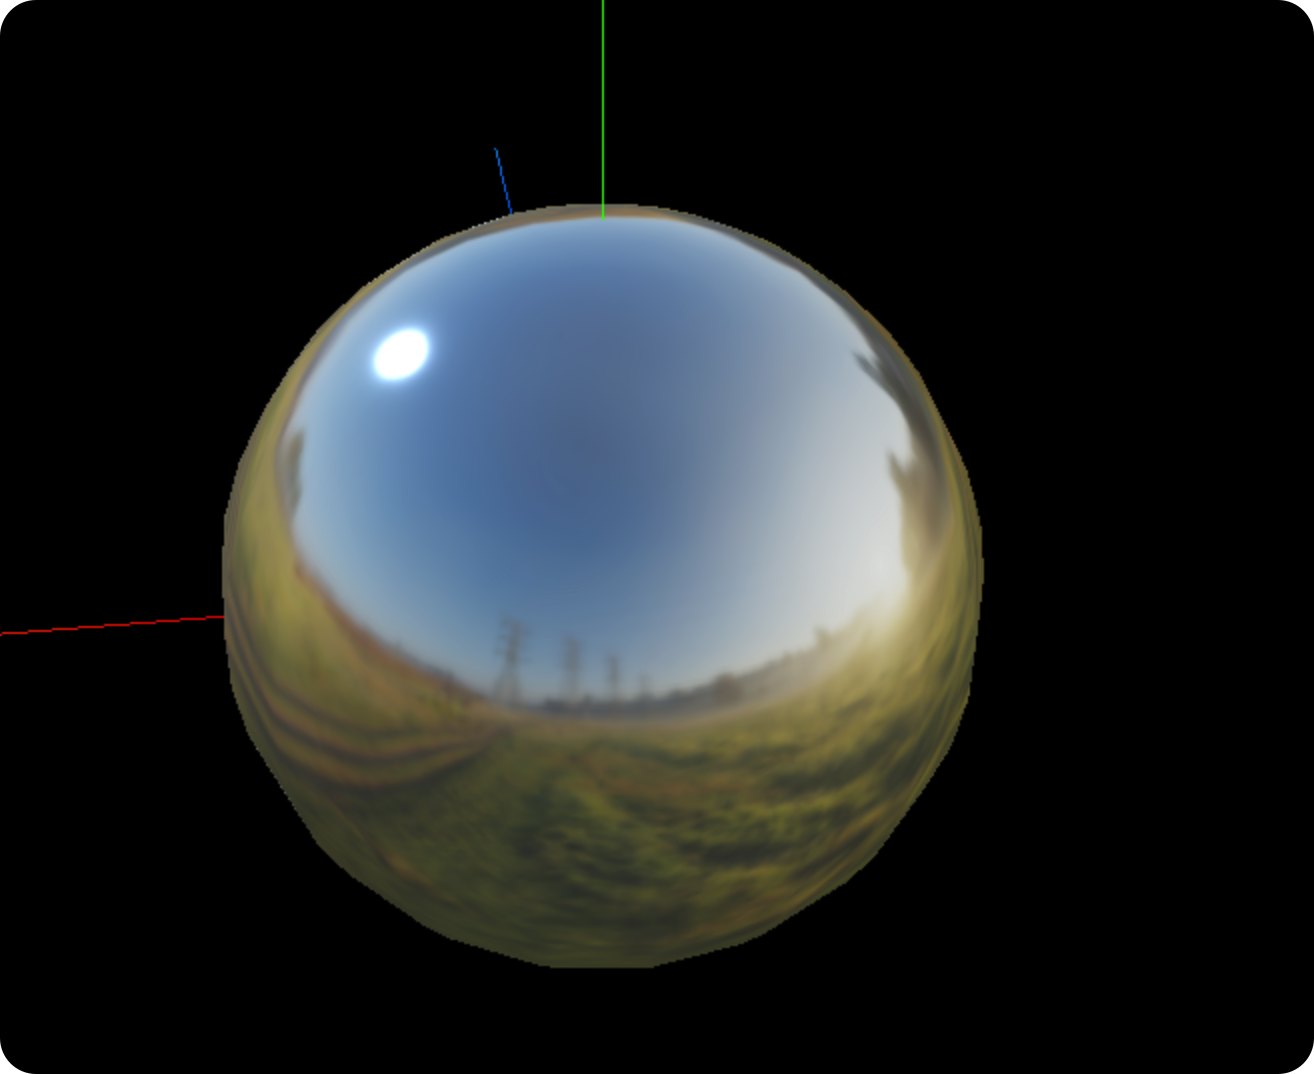
最终实现效果

编辑 (opens new window)
上次更新: 2022/10/11
